As openness and agility in the IT business world are experiencing rapid growth, certain requirements are becoming increasingly essential over time: flexibility, agility, and simplicity are therefore no longer dispensable.
SAP Data Warehouse Cloud is now SAP Datasphere
SAP Data Warehouse Cloud is now SAP Datasphere
Since March 2023, it has been clear that SAP Datasphere is the next generation of SAP Data Warehouse Cloud. We explain what this means in concrete terms in our blog post.
Not only are IT operational systems moving toward the cloud, but the associated technical systems are also experiencing a shift to cloud-based solutions.
In the fourth quarter of 2019, SAP launched its first BI cloud-based software solution: SAP Data Warehouse Cloud (DWC). As the name suggests, SAP Data Warehouse Cloud promises greater connectivity and agility compared to BW4/HANA, and thus comes with a SaaS component. This offers us new opportunities, but also presents a number of challenges. One of these challenges is the massive difference in the system landscape between the two DWH products.
A simple switch to the cloud solution is not easy to implement, so a bridge solution between the two system landscapes, on-premise and cloud, makes a lot of sense at this point.
In this blog post, we would like to take a closer look at SAP's previously introduced solution, SAP BW Bridge, and present the first steps for setup and configuration. We will discuss what the bridge looks like, what components it has, and how it is used.
More Blog Articles from Our BW Series
Power BI-Connector: Enhanced Connectivity for SAP HANA Databases
The Power BI SAP HANA integration quickly encounters limitations. The ISR connector facilitates, …
BW Bridge is an ABAP-based SAP BW/4HANA application in the cloud. It consists of two main components: the Eclipse modeling tools and the cockpit. The Eclipse-based modeling tools make it possible to use objects in BW, such as DataStore objects, InfoObjects, CompositeProviders, transformations, and data flows. It is also possible to connect to data sources in order to benefit from the business content provided by BW Bridge. Query objects are no longer supported in the bridge. The central modeling object will be the Composite Provider. To perform case-specific queries, the objects listed in BW Bridge, such as InfoObjects or Composite Providers, are transferred to the DWC in an agile form and, based on this, data and business entities are recorded and made available for consumption.
The SAP BW Bridge Cockpit is a web-based user interface and contains various SAP Fiori apps organized into groups for process control, monitoring, and administration of the SAP BW Bridge.
Deploy SAP BW Bridge
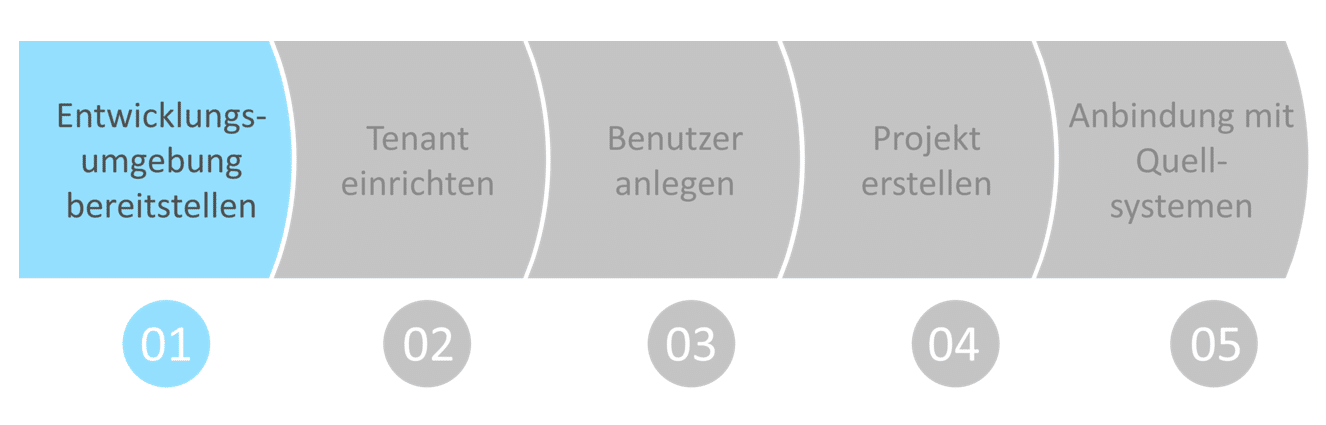
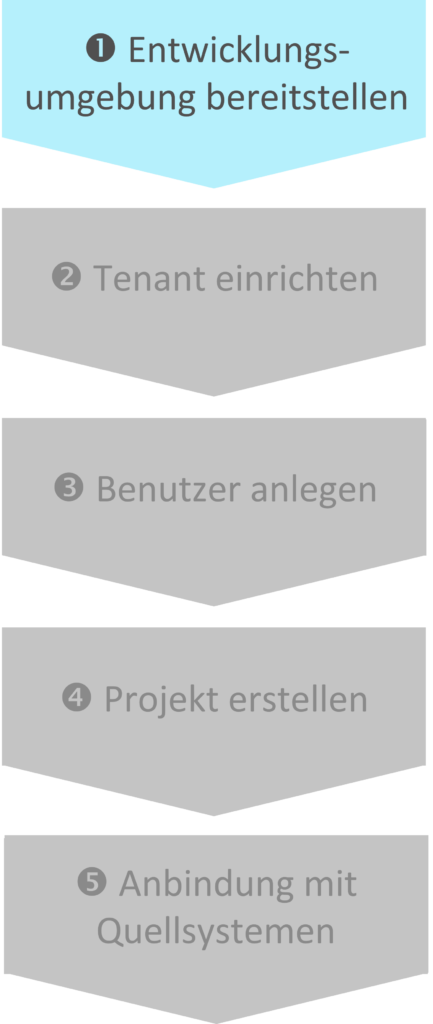
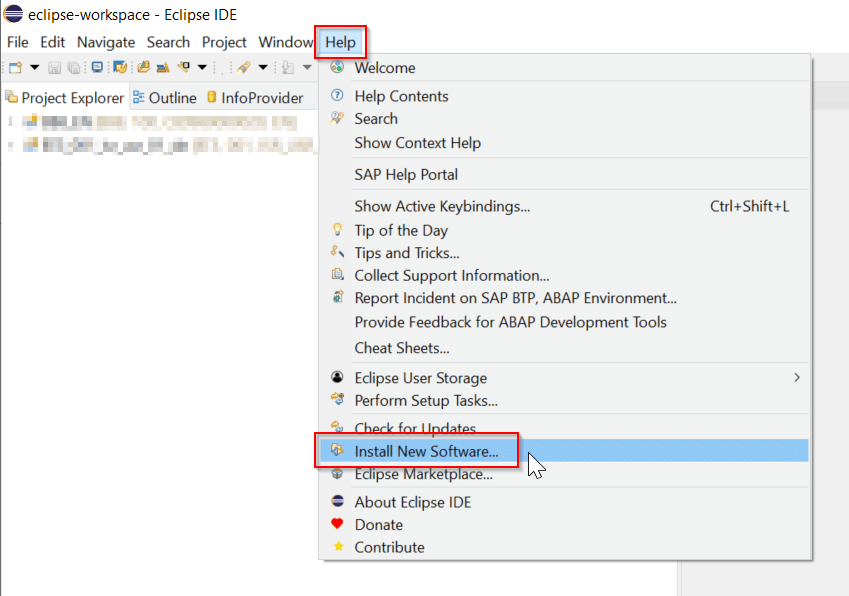
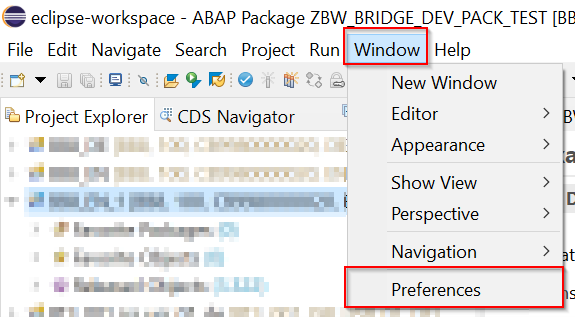
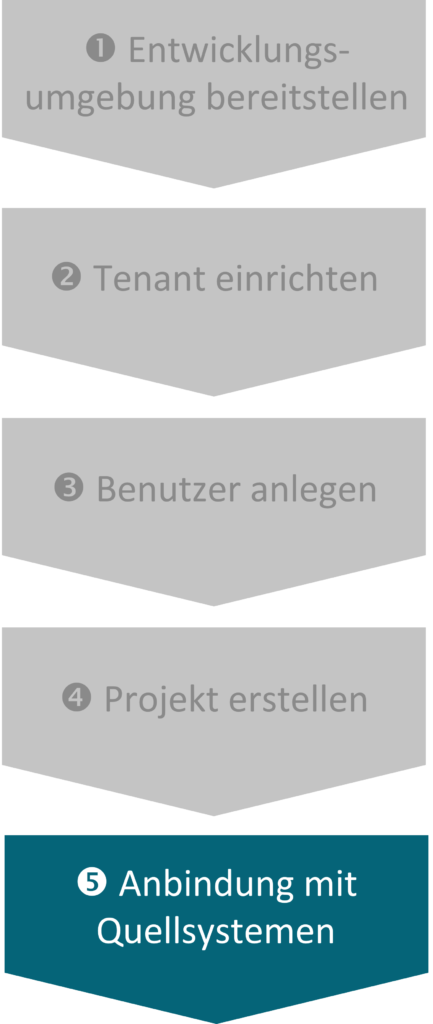
As mentioned above, modeling in SAP BW Bridge is performed using Eclipse-based modeling tools. These steps will help you set up the Eclipse environment and create your first BW Bridge project:
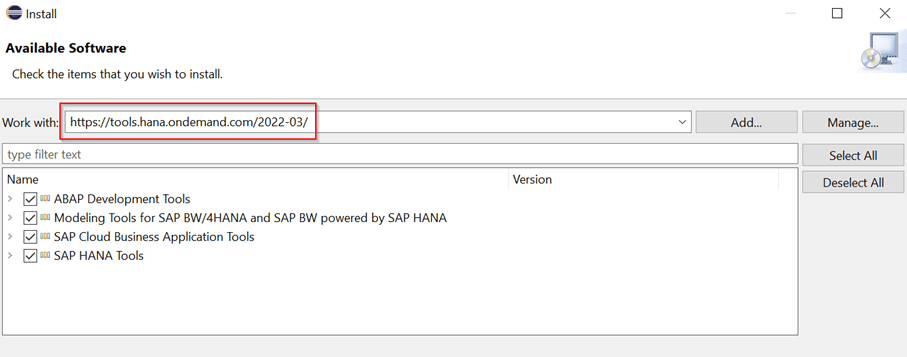
Select all the components displayed and click "Next" and then "Finish."
Restart Eclipse IDE. You can now start modeling and create your first project.
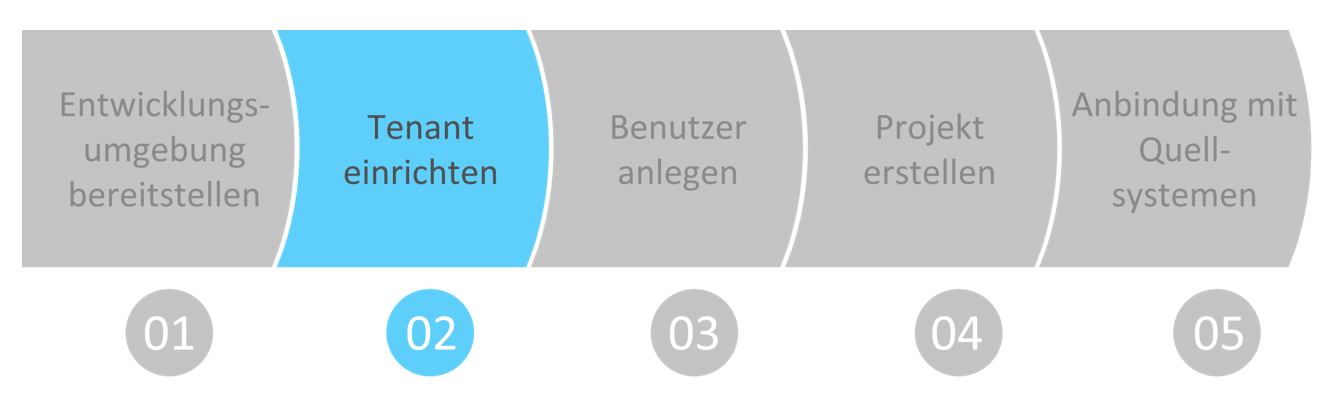
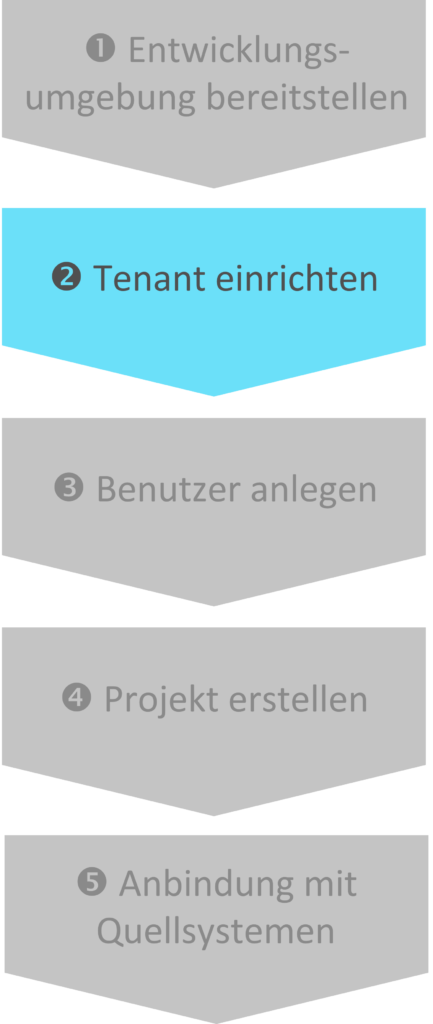
Tenant setup
The interface between DWC and BW Bridge can be displayed in a special DWC space, which allows BW Bridge objects to be called up. To make this space available, you need to request the SAP BW Bridge Cloud ABAP service for your tenant by opening an incident with the DWC BWB component via ServiceNow.
However, before you start opening the incident, make sure that you have configured the tenant as follows:
Switch to your DWC tenant and navigate to: "System" > "Configuration" > "Tenant Configuration" > "Submit." Once you have confirmed the tenant configuration, a BW Bridge instance will be generated automatically.
Once your incident has been processed, you will now find the "SAP BW Bridge" tab in the DWC system configuration. You can use this tab to complete the creation of the space.
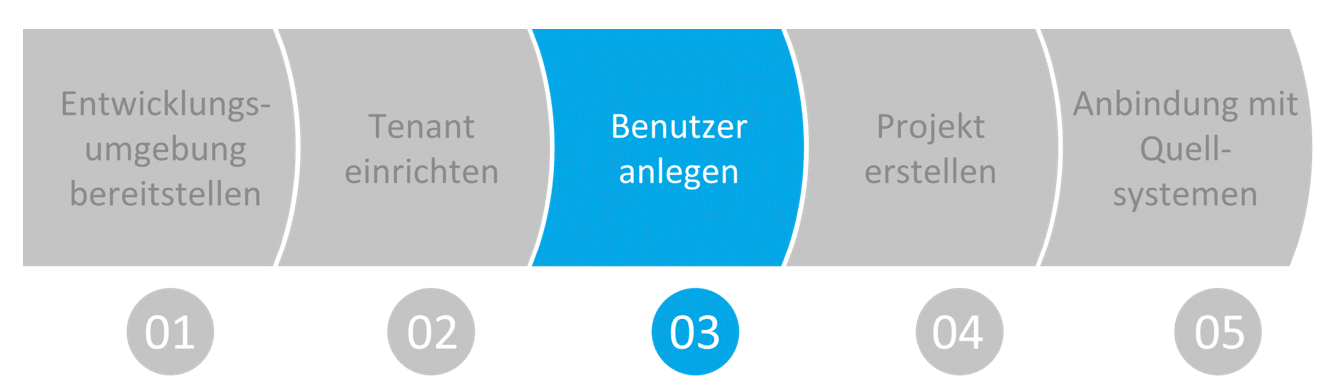
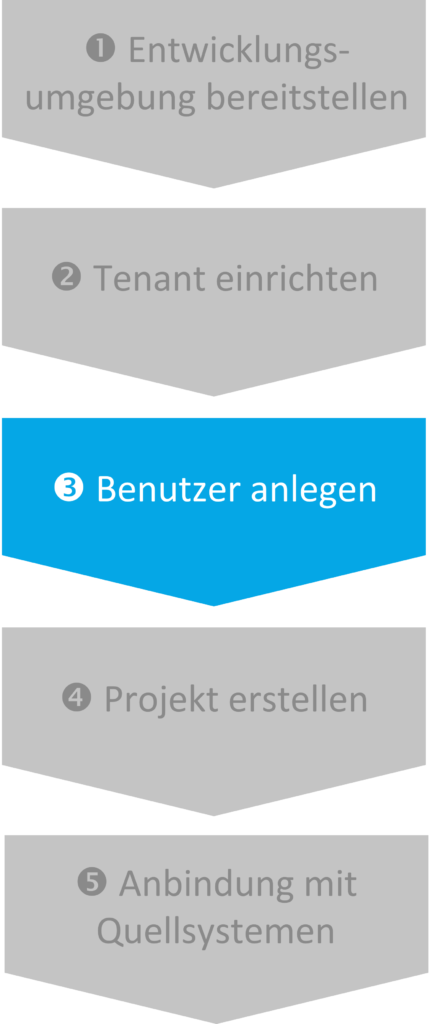
Create user
Since you now have two separate model stores due to the SAP BW Bridge, you need a user with administration rights for both the DWC and the BW Bridge. To set up the BW Bridge for the first time, you need a user who has administrative rights. These rights are defined in the form of a ready-made authorization template and can be assigned very easily after the user has been created.
User management in Bridge is carried out in the BW Bridge Cockpit. To access the cockpit, you first need a user with which you can log in. This user is created using DWC:
To do this, open your DWC tenant.
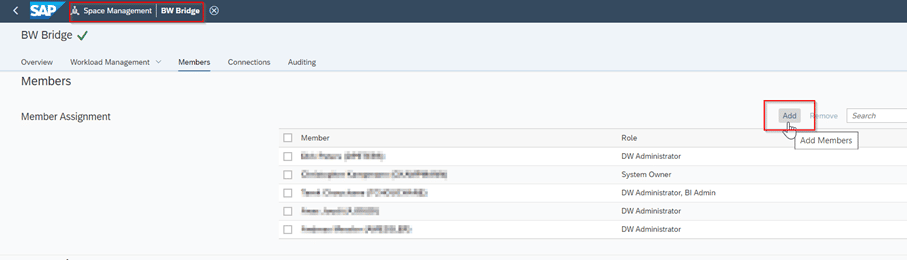
In the sidebar, go to Space Management and select the Bridge Space that has already been generated.
Under "Members," assign your own user to the space.
Press "Save."
Now you can access the cockpit:
In your DWC tenant, switch the view to "Data Integration Monitor" using the sidebar.
Select your previously created BW Bridge Space.
In the upper section of the right-hand side, select the option "Open SAP BW Bridge Cockpit."
A new tab will open in your default internet browser and you will be automatically logged into the Bridge administration. You can now create an admin user.
To create a user:
Log in to the BW Bridge Cockpit
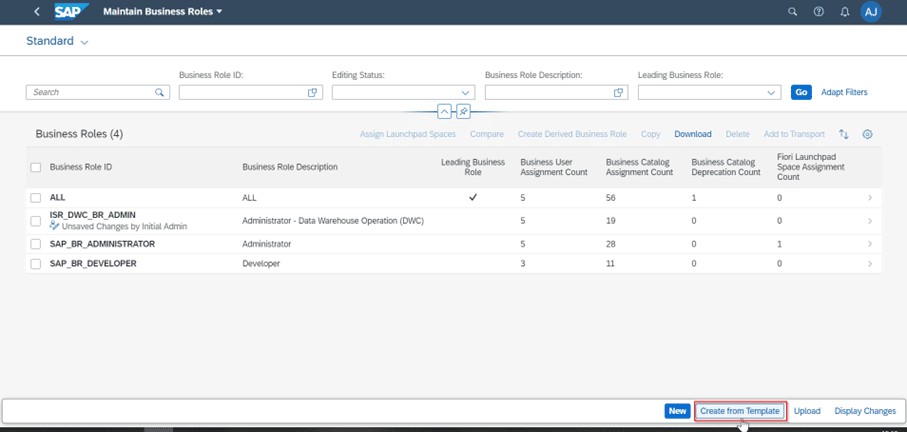
In the search bar, search for the application: "Maintain Business Roles."
Select "Create from Template" on the initial page.
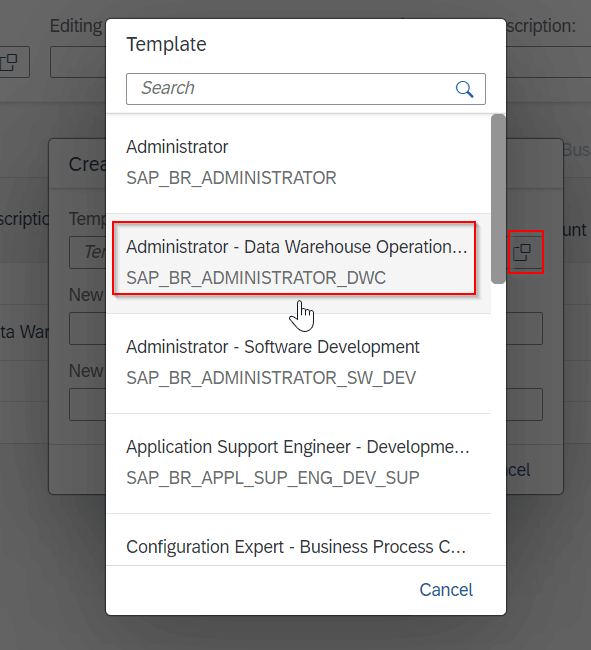
Select the template "SAP_BR_Administrator_DWC" and assign a unique business role ID and description for it.
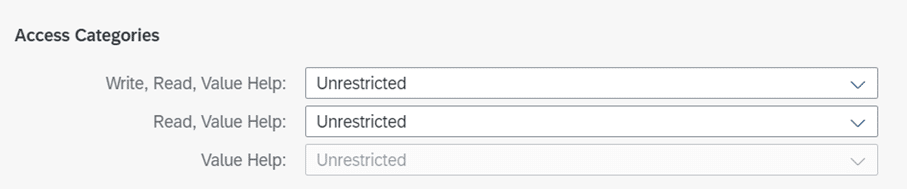
To create objects, a user must have write permissions in addition to read permissions. To change this setting, select "Maintain Restrictions" and assign "write access."
Finally, press "Save."
Repeat the process for the templates: "SAP_BR_DEVELOPER_DWC" and "SAP_BR_QUALITY_ENGINEER_DWC."
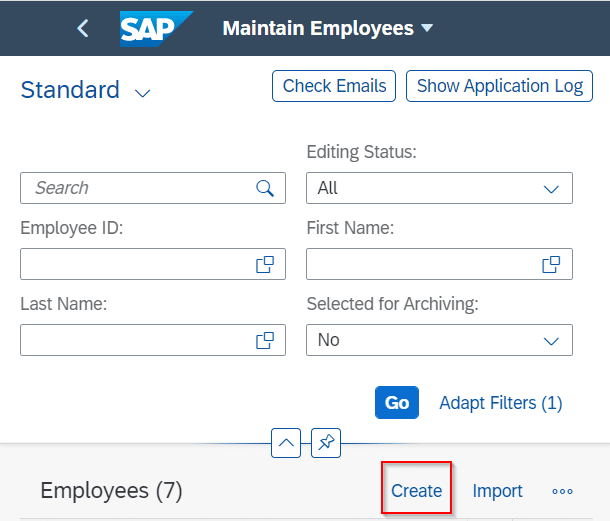
Now open the application: "Maintain Employees."
Create a new employee.
If you do not have a business user, create new business users using the "Maintain Business Users" application and assign the rights created above.
You have now created a tenant in Bridge, connected to your DWC, provided user templates, and created a user with which you can administer your Bridge. Now we will begin modeling and prepare our modeling environment.
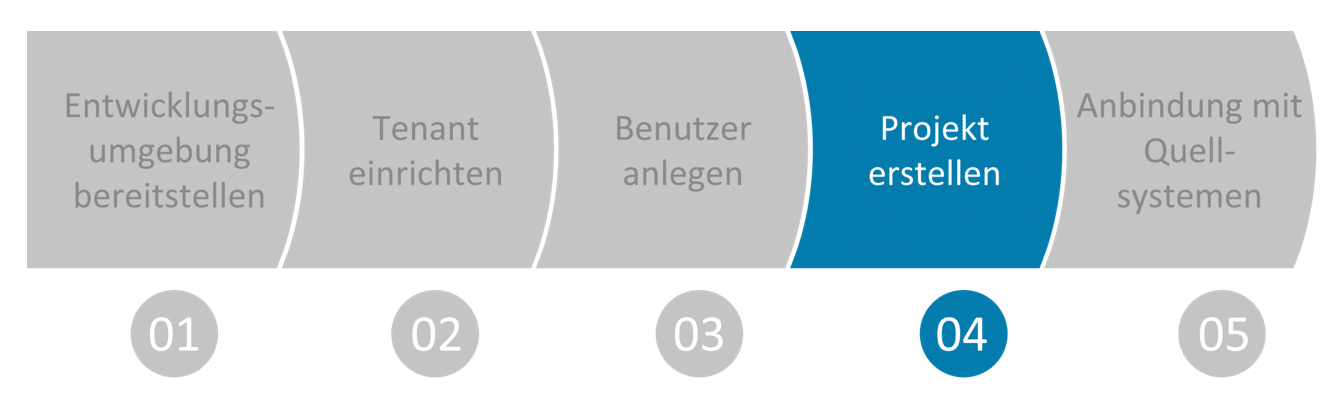
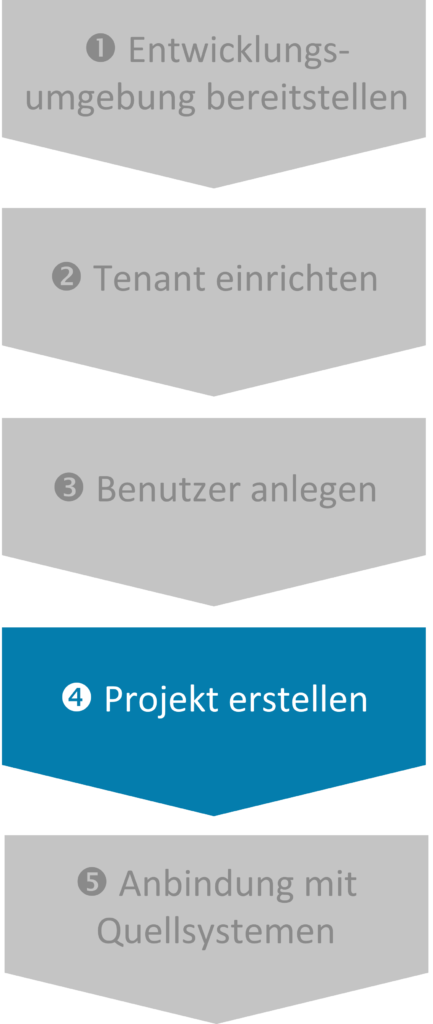
Create project
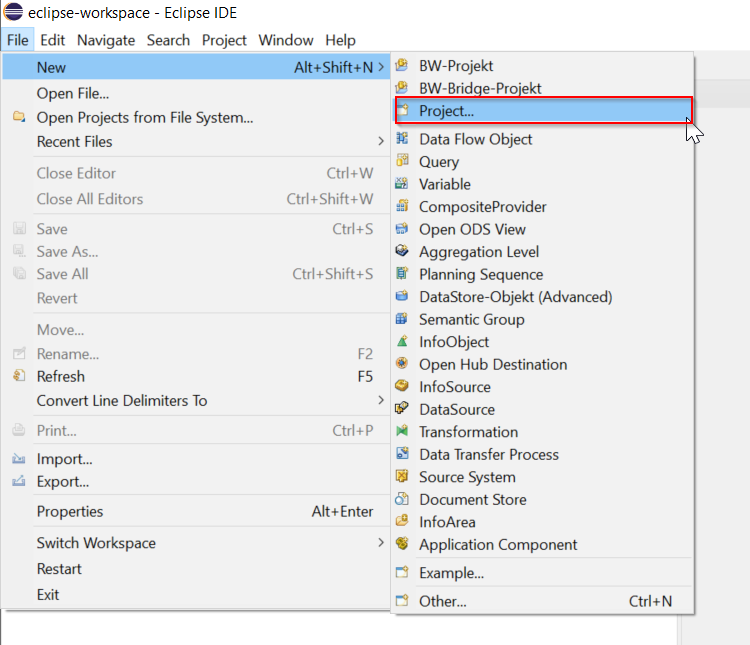
To begin modeling, first open your newly created Eclipse environment and follow these steps:
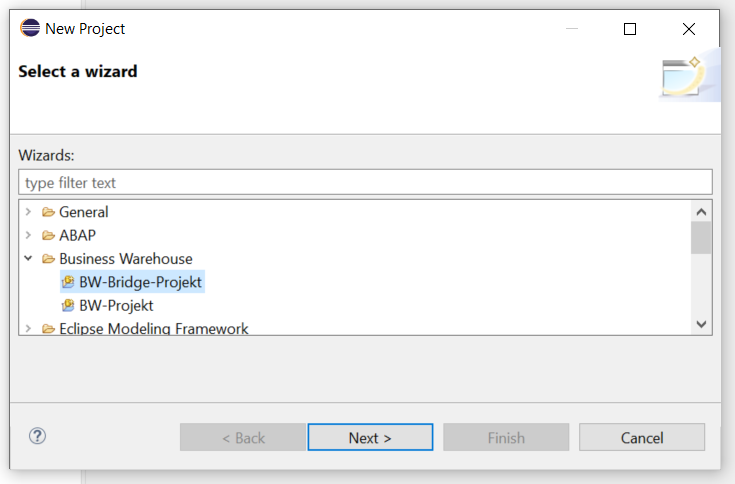
File > New > Project...
In the Business Warehouse folder, select "BW Bridge Project."
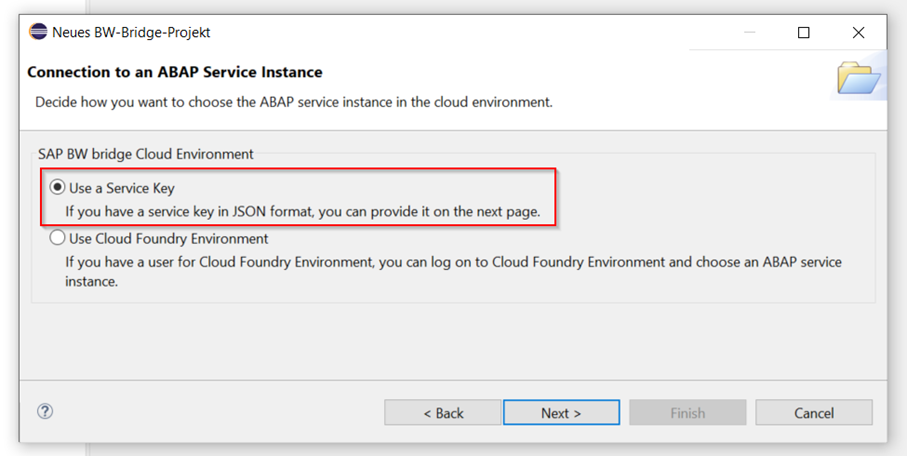
Select "Use a Service Key."
Now open a new window in your browser and log in to your DWC tenant.
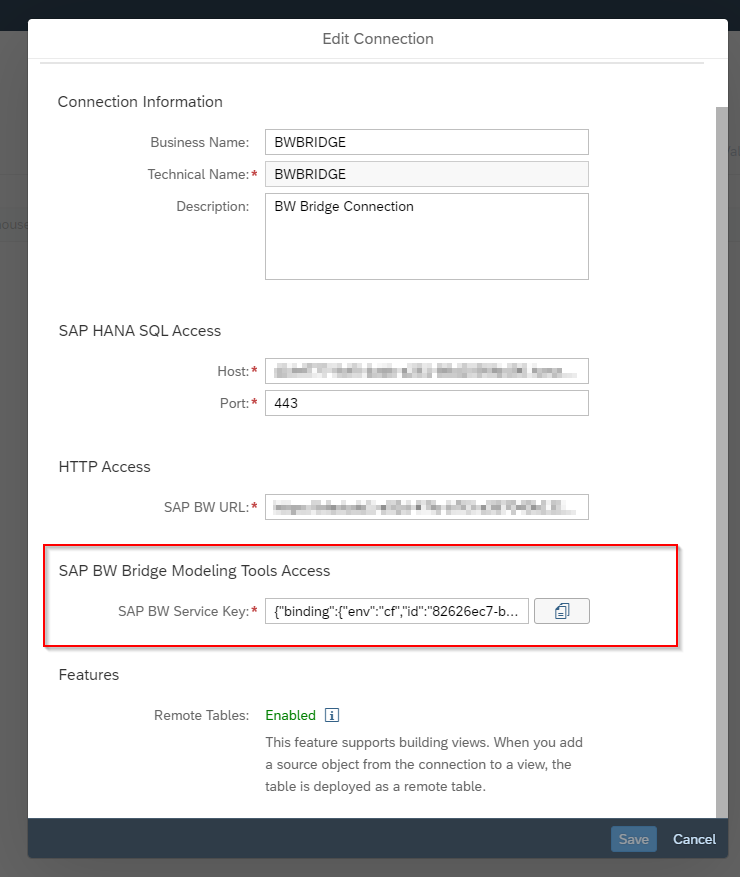
Under Space Management, select your BW Bridge Space and choose "Edit."
Under "Connections," you will find "Go to Connections." Select your bridge instance and choose "Edit."
Copy the JSON service key from the "SAP BW Bridge Modeling Tools Access" field.
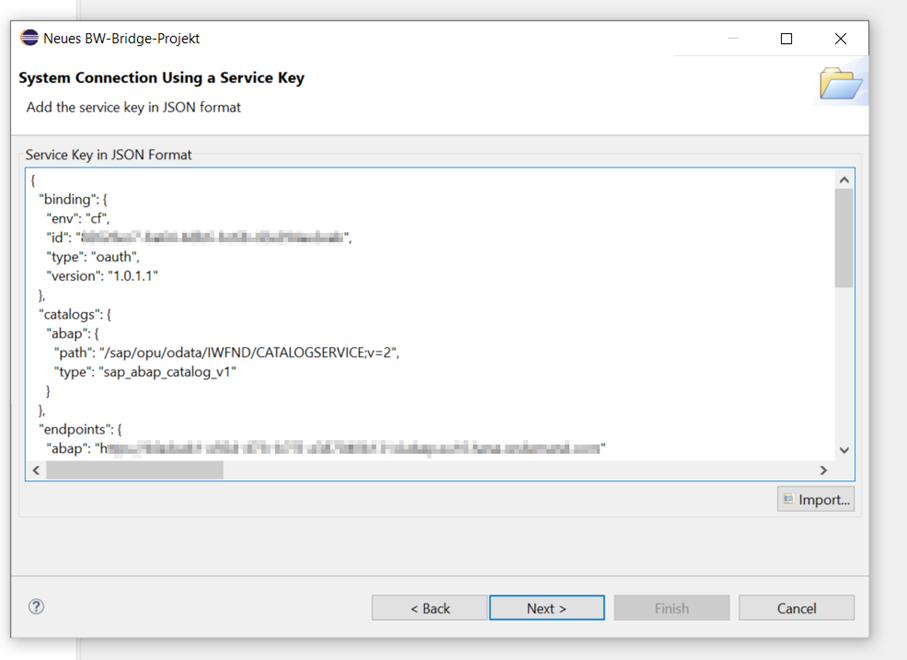
Go back to Eclipse IDE and paste this key into the field displayed in JSON format and press "Next."
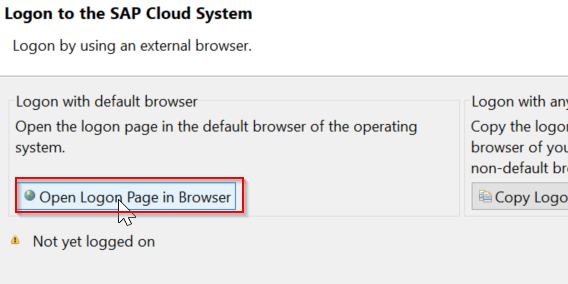
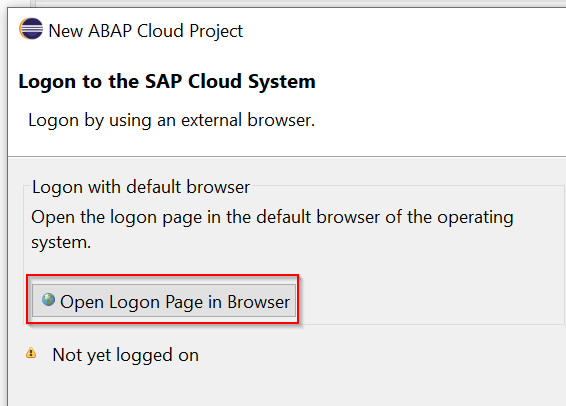
Select "Open Logon Page in Browser."
After you have successfully logged in to the browser with the user you created above, you can close the browser and click "Next" in the Eclipse dialog box.
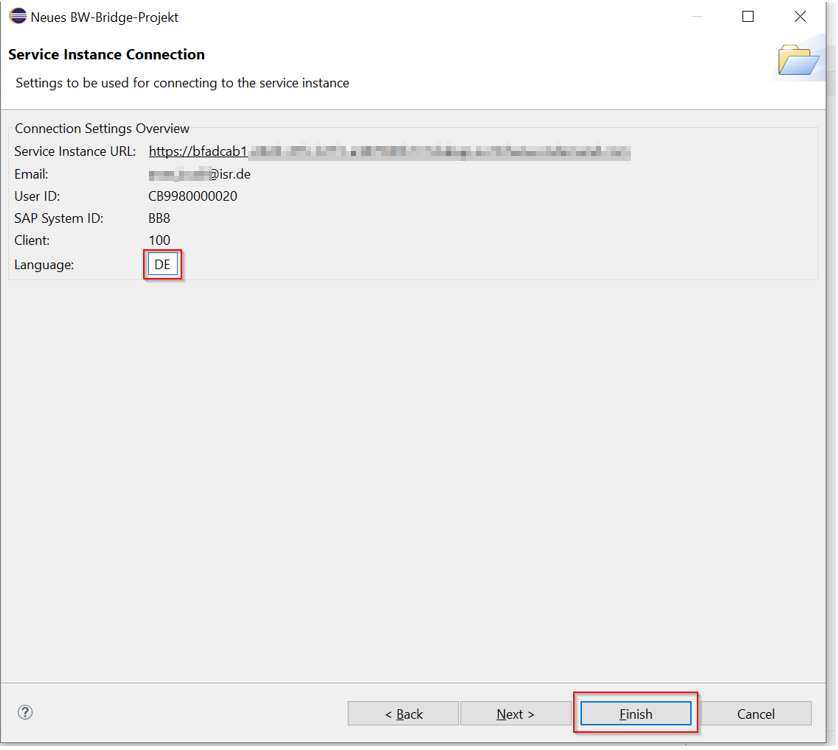
Finally, enter the language key and press "Next."
Finally, enter a project name and click "Finish."
You have now prepared the development environment, created a BW Bridge instance and connected it to your DWC tenant, created the appropriate users, and created the first modeling project. You can now create any data models in BW Bridge, but you cannot transform or transport them. To do this, you need to create software components and a development package. We will show you how to do this in more detail in the next section.
Create software component
Open your BW Bridge Cockpit and log in.
Search for the application "Mange Software Components."
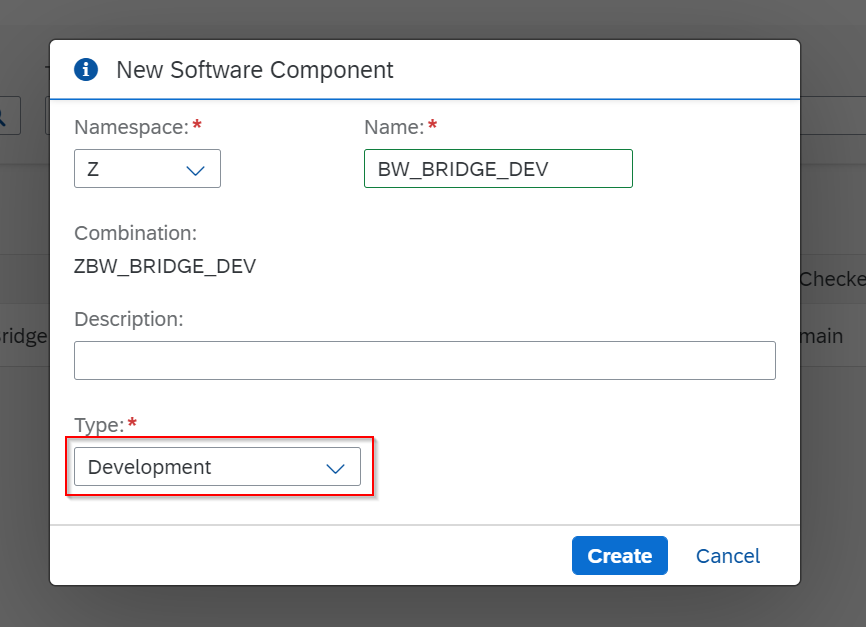
Press "Create."
Enter a name and select "Development" as the type.
Press "Create."
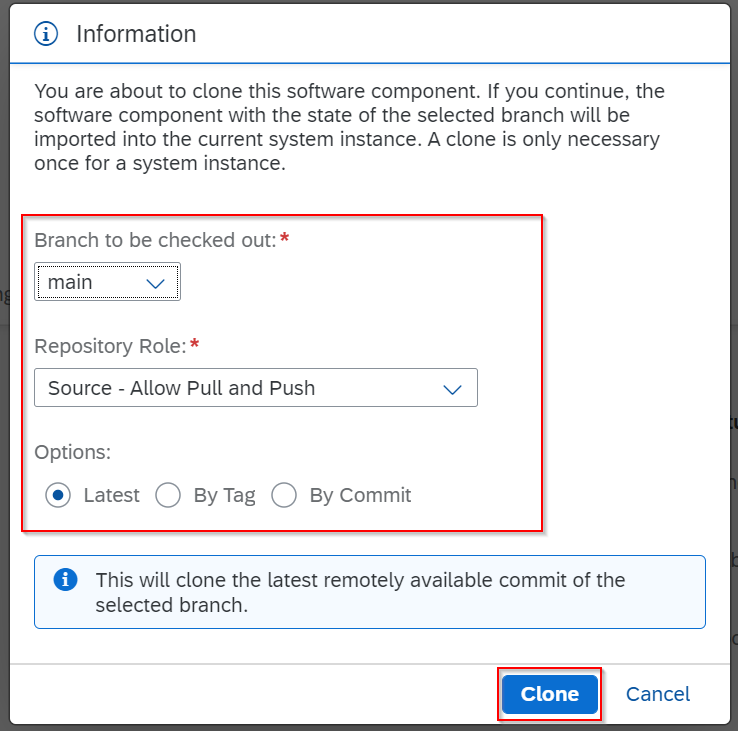
After creating the software components, the new component opens. First, click on "Clone" on the right-hand side above.
Leave all options at their default settings and press "Clone."
Cloning the software components has created a structure package in the background. However, it is not possible to create BW Bridge objects using a structure package, which is why it is created in a subfolder of the development package type, where the components are included so that BW Bridge objects can be created.
Open the Eclipse modeling environment.
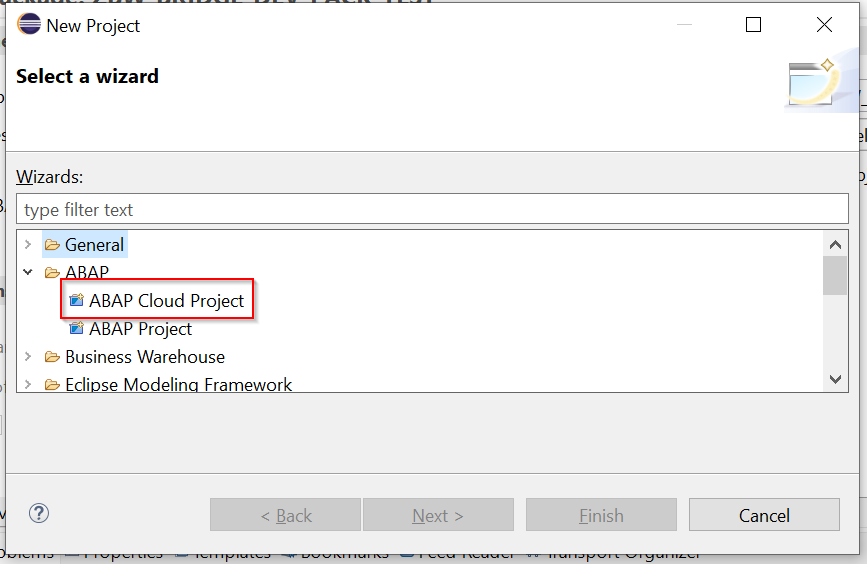
Create a new ABAP Cloud project
Insert the JSON service key of your DWC tenant (see Create Project, steps 4 to 7).
Log in via "Open Logon Page in Browser."
Select your language key and press "Finish."
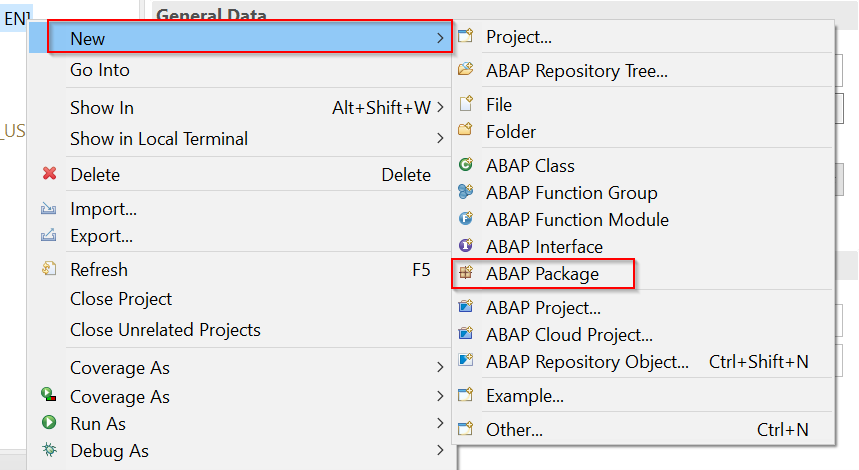
In the newly created project, create a new ABAP package.
Now give your package a name and a brief description.
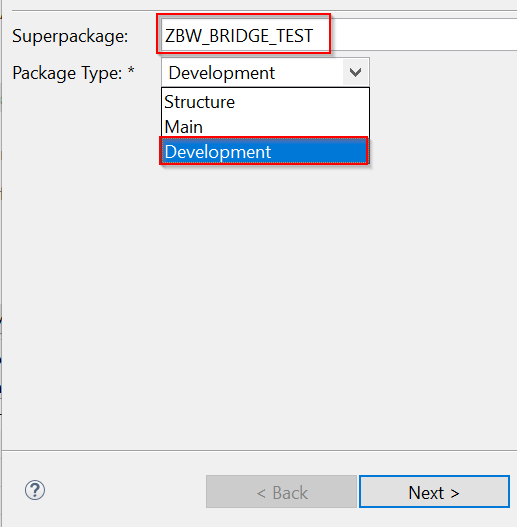
Under "Package Type," you have three options to choose from. We currently need the "Development" type.
As a "superpackage," we need the structure package that we automatically generated when creating the software components. Search for this package, which has the same name as the software component, and click "Next."
Assign it to a transport request or create a new one, and finally press "Finish."
After creating a new BW Bridge object, you will be prompted to specify the development package. You can avoid this by setting the created development package as the default:
Business content and the connection with S/4HANA
Connecting to the S/4HANA on-premise system requires preparation involving several steps. You can find step-by-step instructions in our new blog article: SAP BW Bridge – Integration with S/4HANA.
Great! You have now set up and configured the SAP BW Bridge. You have also familiarized yourself with the BW Bridge and its components and made it available for use with your DWC tenant. Do you have any questions? Feel free to contact us!
Since 1993, we have been operating as IT consultants for Data Analytics and Document Logistics, focusing on data management and process automation. We provide comprehensive support, from strategic IT consulting to specific implementations and solutions, all the way to IT operations, within the framework of holistic Enterprise Information Management (EIM). ISR is part of the CENIT EIM Group.